Creating a Storyboard for Your Music Video
- By -Lepage Kathy
- Posted on
- Posted in Uncategorized
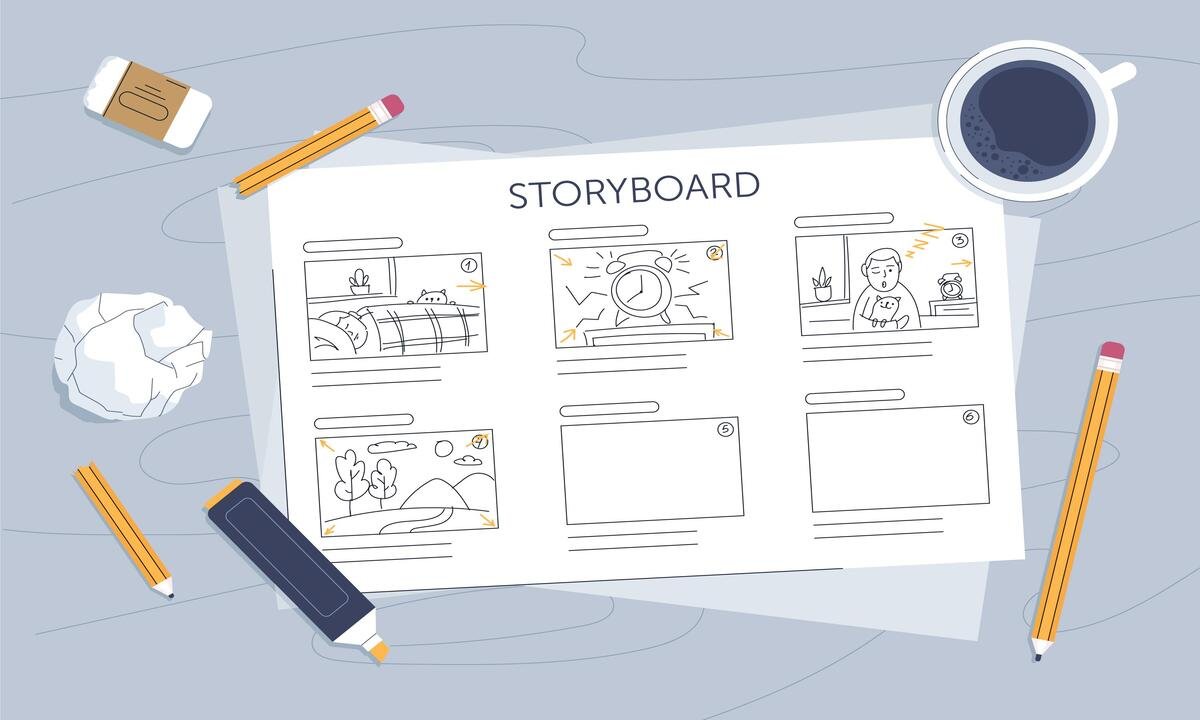
Storyboarding is a crucial step in the pre-production phase of creating a music video. It involves visualizing each scene through sketches or digital tools, mapping out the sequence of shots, and ensuring a cohesive visual narrative. Here’s a comprehensive guide on how to effectively create a storyboard for your music video project.

1. Preparing for Storyboarding
Before diving into the storyboard creation process, ensure you have a clear understanding of the song’s theme, lyrics, and overall concept. This foundational knowledge will guide the visual representation of each scene.
2. Tools and Materials
A. Traditional Tools
- Sketchbook: Use a sketchbook or paper to draw rough sketches of each scene. This allows for quick iterations and adjustments.
- Markers or Pencils: Use markers or colored pencils to add details and distinguish elements within the storyboard frames.
B. Digital Tools
- Storyboard Software: Utilize digital storyboard software such as Storyboard That, ShotPro, or Adobe Premiere Pro. These tools offer flexibility in creating digital sketches and arranging storyboard frames.
- Graphic Tablets: If using digital sketching software, a graphic tablet can provide precision and ease of drawing.
3. Steps to Create a Storyboard
A. Scene Breakdown
- Frame Selection: Identify key moments in the song where visual storytelling is crucial. Each frame should convey essential actions or emotions.
- Sequence Planning: Arrange frames in sequential order to depict the flow of the video. Consider transitions between scenes for a seamless narrative.
B. Sketching Techniques
- Thumbnail Sketches: Start with rough thumbnail sketches to outline the composition and basic elements of each frame.
- Detailed Drawings: Refine each frame with more detailed drawings, focusing on character poses, facial expressions, camera angles, and background details.
C. Visual Elements
- Composition: Pay attention to framing and composition within each frame. Use techniques like rule of thirds and leading lines to guide viewer focus.
- Visual Style: Maintain consistency in visual style and aesthetics throughout the storyboard. Align colors, lighting, and atmosphere with the song’s mood.
4. Adding Annotations
A. Descriptive Notes
- Scene Descriptions: Include brief descriptions or notes beneath each frame to clarify actions, camera movements, and scene transitions.
- Technical Details: Specify technical requirements such as camera angles, lighting setups, and special effects needed for each scene.
5. Review and Iteration
A. Feedback Process
- Internal Review: Review the storyboard internally with the production team. Gather feedback on clarity, coherence, and alignment with the song’s themes.
- Director’s Input: Collaborate with the director to refine the storyboard. Incorporate their creative vision and adjust frames accordingly.
6. Finalizing the Storyboard
A. Presentation
- Digital Compilation: Compile the final storyboard digitally, arranging frames in sequential order. Ensure the storyboard is easy to navigate and understand.
- Physical Copies: If using traditional tools, consider creating physical copies of the storyboard for reference during filming and production.
Conclusion
Storyboarding plays a vital role in visualizing and planning a music video’s scenes with clarity and creativity. By effectively mapping out each frame and sequence, creators can ensure a cohesive visual narrative that enhances the song’s emotional impact and resonates with viewers.


